MIL-DTL-48623A (AR)
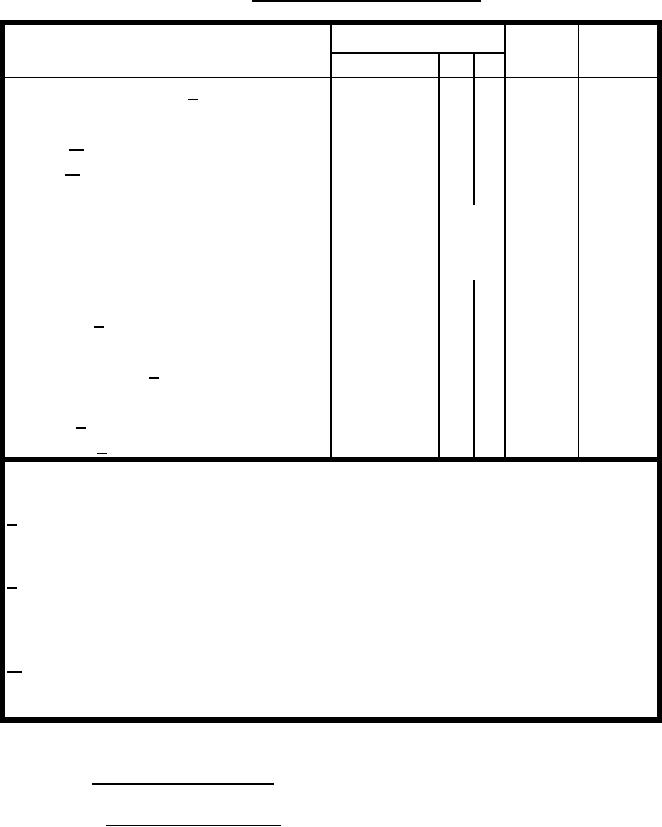
Table II. First article tests and inspection
CONFORMANCE
INSPECTION
REQUIREMENT
CRITERIA
EXAMINATION OR TEST
METHOD
PARAGRAPH
REFERENCE
QTY
Ac
Re
Examination for Defects 1/
Ctg, Cal .50, Blank, M1A1 (Dwg 9326760)
Major 3/
256
1
2 3.3, 3.13 Table IV
Minor 3/
64
5
6 3.3, 3.13 Table IV
Function and casualty
a. Ambient
300
TableV
3.10
4.5.5
b. 0 �F
300
TableV
3.10
4.5.5
c. +125 �F
300
TableV
3.10
4.5.5
Residual stress cycle rate
50
01
3.5
4.5.1
Cyclic rate 2/ (Ambient, 0 �F, +125 �F)
900
01
3.11
4.5.6
Waterproof
20
34
3.9
4.5.8
Screen perforation 2/
200
12
3.6
4.5.2
Muzzle flash
20
01
3.7
4.5.3
Fouling 2/ (Ambient)
500
01
3.8
4.5.4
Noise level 2/ (Ambient)
100
01
3.12
4.5.7
Notes:
1/. To be inspected for all drawing requirements using standard measuring and test
equipment (except for workmanship which is inspected for visually).
2/. These tests to be performed concurrently with the function and casualty test. (For
fouling tests, an additional 200 rounds must be fired at ambient temperature without
cleaning through the M2 machine gun giving a total of 500 rounds fired through the gun.
3/. A random sample of 256 cartridges for major defects shall be selected from the 3140
cartridges. The first 64 shall be inspected for major and minor defects and the rest shall
be inspected for major defects.
4.4 Conformance inspection.
4.4.1 Inspection lot formation Lot formation shall be verified with MIL-STD-
1916. Unless otherwise specified, component parts shall be homogenous and of a size
convenient and inspected, tested and accepted. The cartridge lot shall contain:
a. Cartridges cases from one unchanged process and from one manufacturer.
b. Primers from one lot interfix number and one manufacturer.
c. Propellant from no more than two lot numbers and from one manufacturer
6
For Parts Inquires submit RFQ to Parts Hangar, Inc.
© Copyright 2015 Integrated Publishing, Inc.
A Service Disabled Veteran Owned Small Business